
Advanced form settings
The advanced form settings area defines the form’s overall behaviour, including internal identification, feedback messages, automatic notifications, and submission rules. These settings affect the entire form and directly influence the user experience and the processing of submissions.
Initial form setup
The advanced form settings area defines the form’s overall behaviour, including internal identification, feedback messages, automatic notifications, and submission rules.
These settings affect the entire form and directly influence the user experience and the processing of submissions.
General settings
Base form parameters

This section configures the basic form parameters, such as internal identification, visible title, post-submission behaviour and editing options.
Name, Title and Legend
- Name identifies the form internally in Studio and is only used for management and organisation in the backoffice.
- It is recommended to use clear and descriptive names, such as “Contact Request”, “Newsletter Signup” or “Application Form”.
- Title defines the visible name of the form on the frontend.
- Legend allows adding complementary text below the title.
Redirect and submission
- Redirect defines the destination page after a successful submission.
- It is useful for thank-you pages, signup confirmations or exclusive post-submission content.
- Allow editing defines whether the user can edit the data after submitting the form.
- Allow resubmission allows the same user to submit the form again.
Modal messages
- Messages in Modal defines whether success or error messages are displayed in a modal window.
- Modal Button Label defines the text of the button shown in the modal, such as “Continue”, “Close” or “Back to site”.
- Modal Button URL assigns an action to the modal button and can redirect the user to another page.
- Table fields — Submitted Forms defines which data will be displayed in the form submissions list in the backoffice.
Email settings
Notification sending parameters
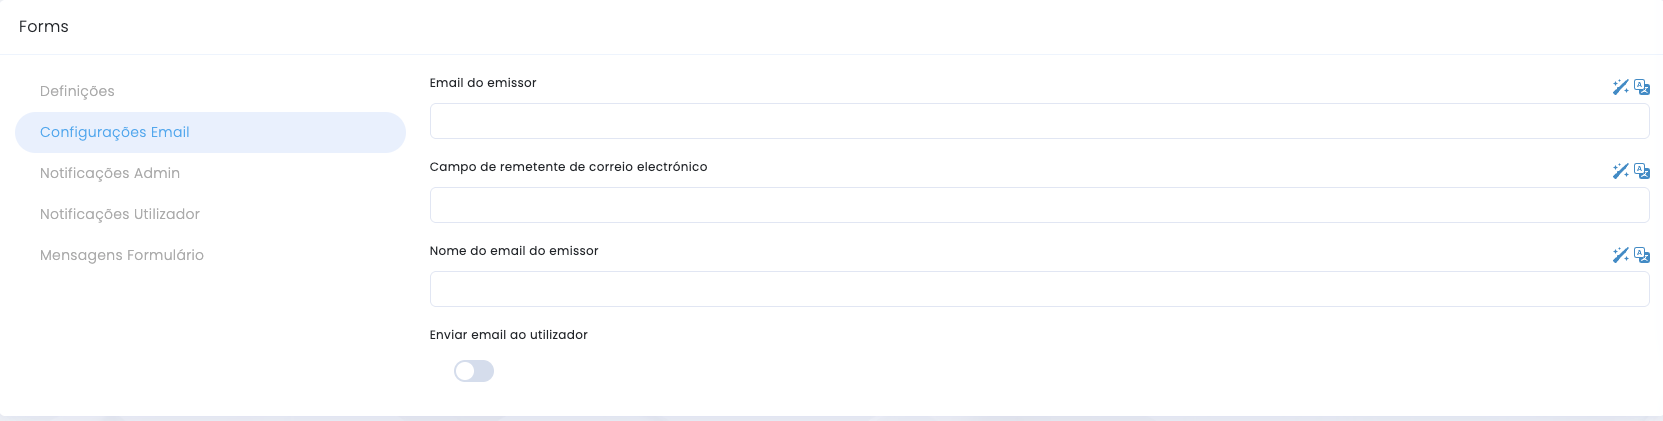
This section defines the sending parameters for the notifications associated with the form.
Sender
- Sender email defines the email address used as the sender of form notifications.
- Email sender field allows mapping a form field to be used as a dynamic sender.
- This is useful when the notification should be sent on behalf of the user who submitted the form.
Sender identity and user email
- Sender email name defines the name displayed as the sender.
- Examples: “Sales Team”, “Technical Support” or the company name.
- Send email to user automatically sends a notification to the user after submission.
Administrator notifications
Internal notification flow
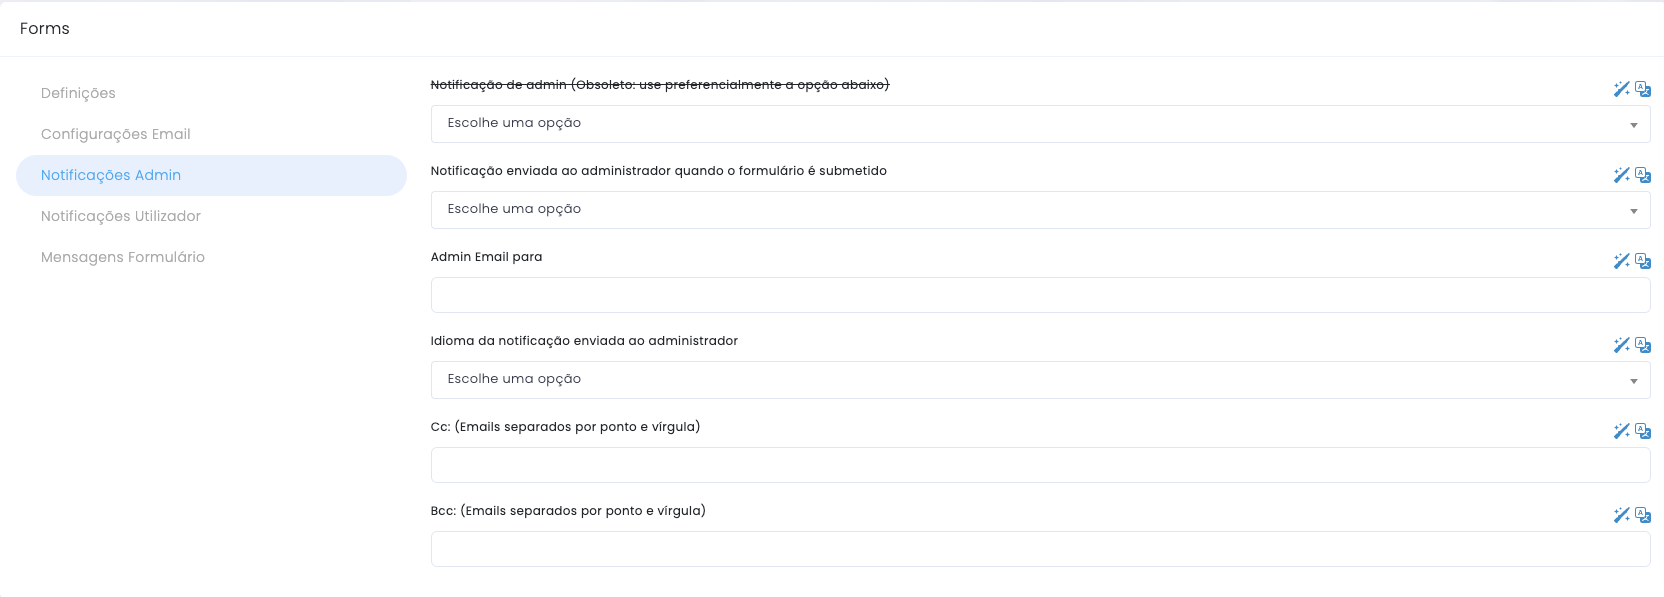
This section configures the internal notification sent when the form is submitted.
Template and main recipient
- Notification sent to administrator allows selecting the notification template used when a form is submitted.
- Admin Email To defines the main email address for receiving notifications.
- Notification language allows defining the language of the notification sent to the administrator.
CC and BCC
- Additional recipients can be defined in the CC and BCC fields.
- Email addresses should be separated by semicolons.
- This option is useful when multiple people or teams need to follow the submission.
User notifications
Automatic response to the submitter
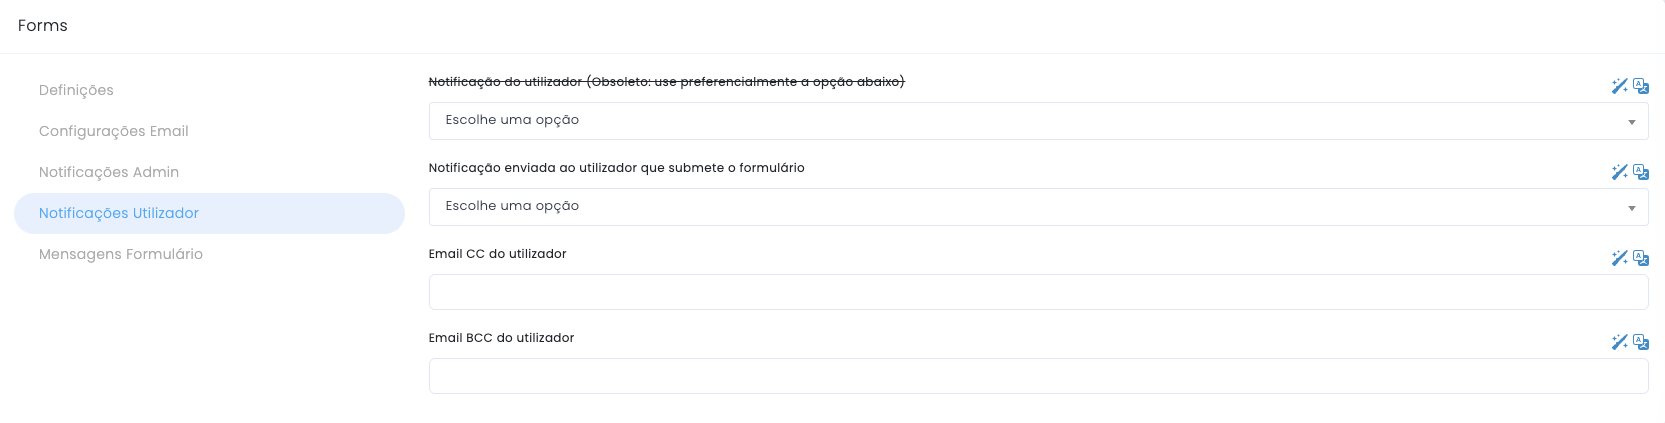
The user notification section allows selecting the automatic response template and defining additional recipients.
Response template
- It allows selecting the notification sent to the user who submits the form.
- This automatic response helps confirm that the submission was received.
- It can also reinforce instructions, next steps or post-submission context.
Additional emails
- It is also possible to define additional emails in CC.
- It is also possible to define additional emails in BCC.
- These fields are useful in specific situations, but should be used with care.
Form messages
User feedback after submission

This section defines the texts shown to the user after the submission attempt.
Success message
- Text displayed when the form is submitted successfully.
- It should confirm the action and, when necessary, indicate the next step.
- It is preferable to use a clear and specific message rather than a generic confirmation.
Error message
- Text displayed when a submission failure occurs.
- It should help the user understand that something went wrong without creating ambiguity.
- Whenever possible, it should guide the retry or the next step.