



Overview
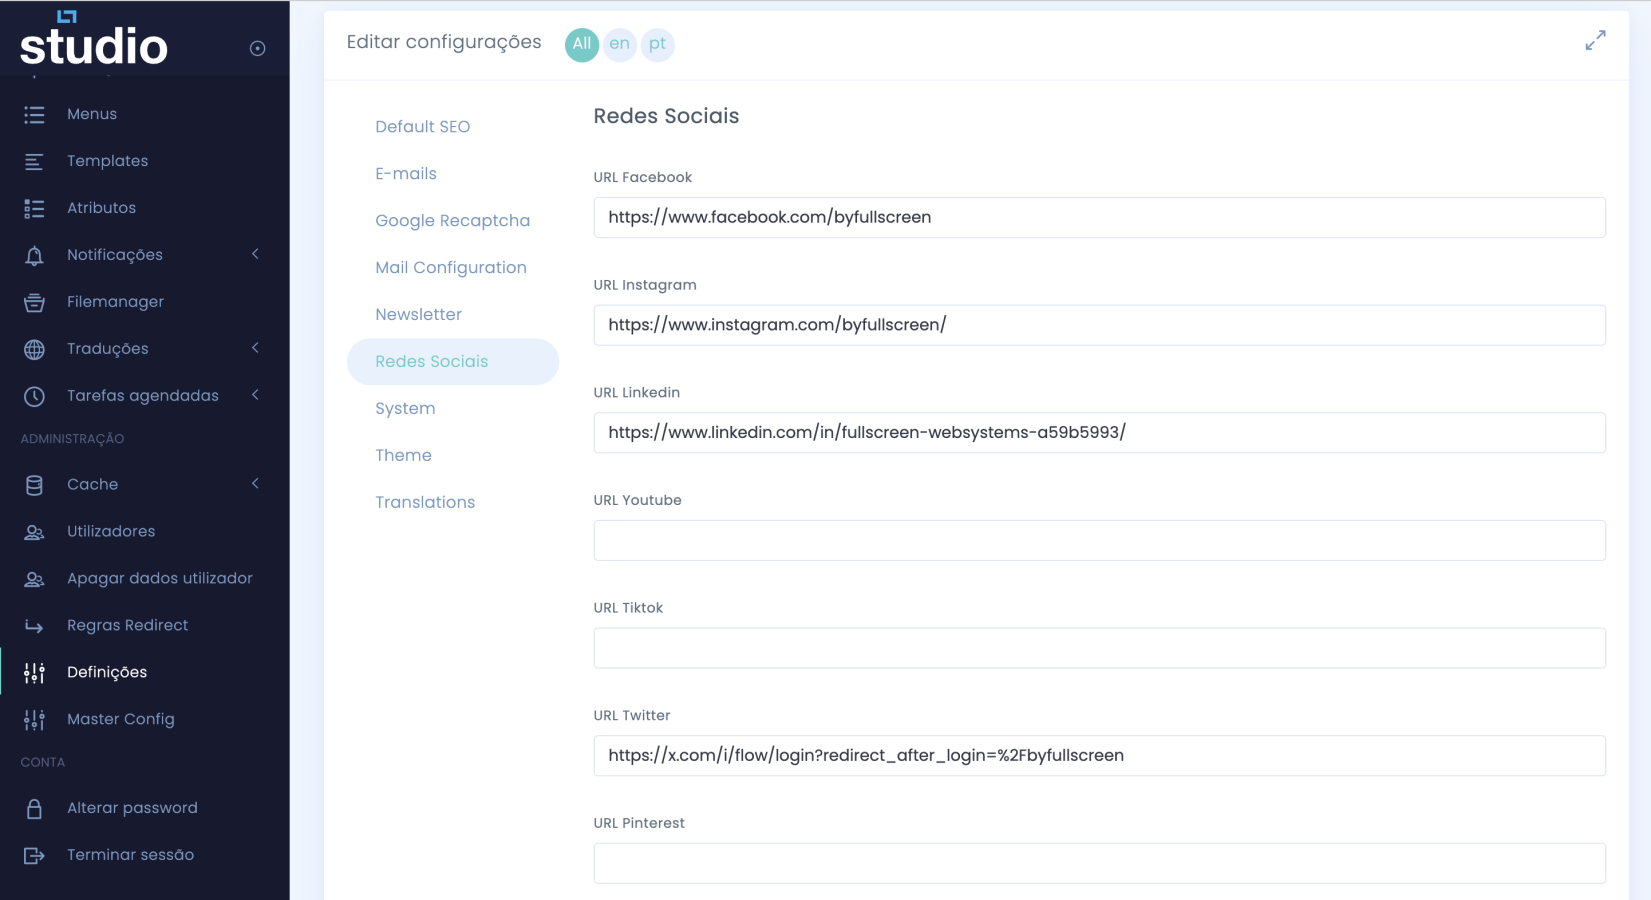
The goal of this page is to take the current documentation and make it more direct in the product context. The structure stays the same: enter the backoffice, open Settings → Social Media, fill in the official URLs and test the behavior on the frontend after saving.
Visual reference
Configuration panel
Why it is worth configuring
Feature impact
Accessibility and engagement
With one click, users can find the brand's official channels and continue the relationship outside the website.
SEO support
Well-linked social profiles help consolidate brand signals and a consistent digital presence.
Omnichannel strategy
The website stops being an isolated point and starts working together with social channels.
Simple governance
Centralizing links avoids outdated references scattered across multiple blocks or pages.
Profiles to fill in
Most common fields
Facebook and Instagram
Examples: facebook.com/companyName and instagram.com/companyName.
LinkedIn and YouTube
Use the institutional profile or the brand's official channel to avoid noise from personal accounts.
TikTok and X/Twitter
Always validate that the handle is current and matches the naming used by the brand.
Pinterest and other channels
If the project uses additional networks, keep the same logic: official, current and accessible links.
Step by step in Studio CMS
Implementation flow
1. Enter the backoffice
In the side menu, open Settings and select Social Media.
2. Fill in the URLs
Enter the official links for Facebook, Instagram, LinkedIn, YouTube, TikTok, X/Twitter and Pinterest, according to the project.
3. Save changes
After validating the links, click Save to apply the configuration.
4. Test on the frontend
Open the website and confirm that each icon or social link routes to the correct profile.
See also
Related pages