
Overview
Language management is the most sensitive point in a multilingual project because it defines which versions exist in the backoffice and which ones can already be seen on the website. Ideally, always validate the combination of Active, Public and Default before saving.
Where to manage this
Backoffice → Internationalization → Languages
Step by step
Enable or disable a language safely
1. Enter the languages area
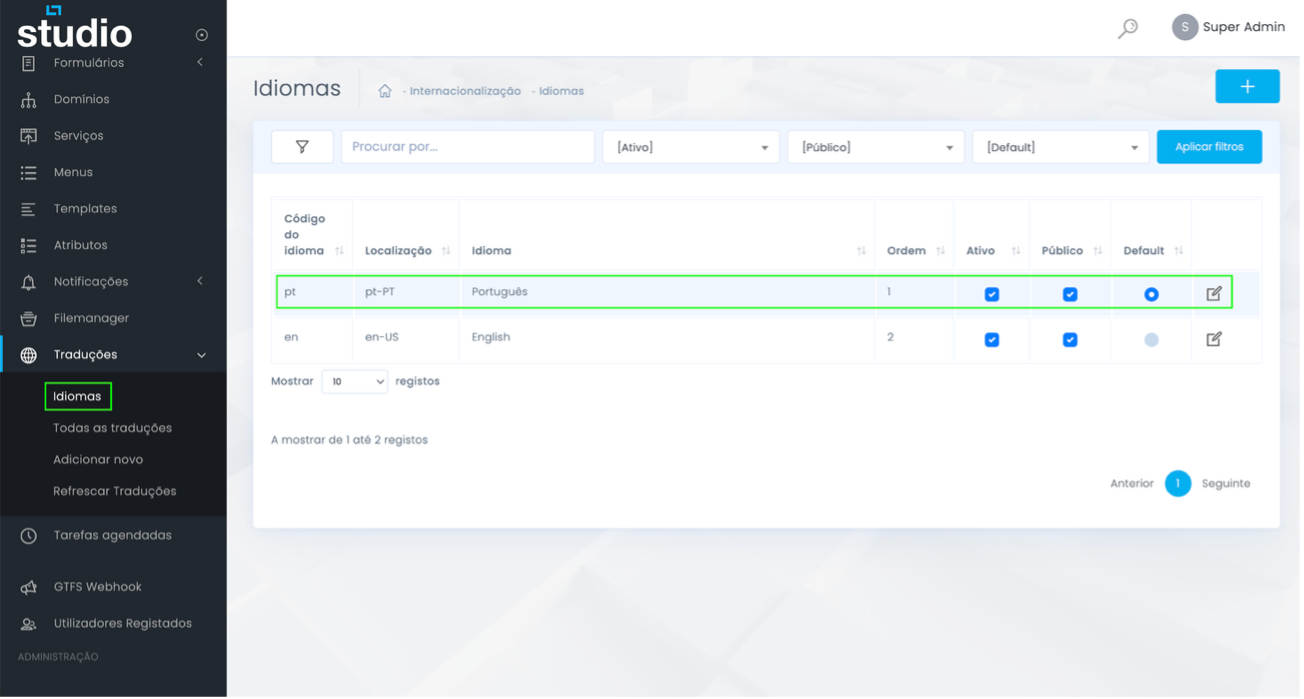
In the sidebar menu, open Translations and go into Languages to see the complete list of languages configured in the project.
2. Identify the right language
Confirm the code, locale and language name before changing any state, so you avoid editing the wrong row.
3. Review Active, Public and Default
Active means the language is operational in the backoffice. Public indicates whether the language can already appear on the website. Default should remain only on the project’s main language.
4. Save the change
After reviewing the states, save the change and confirm that the row still has the expected configuration.
5. Validate the effect on the website
If the language has become public, test navigation, menus and a few essential pages to make sure the experience is not incomplete.
What to validate before saving
Checks that prevent configuration mistakes
Main language
Confirm that the default language is still the correct one. Normally, a project only has one main language.
Actual visibility
An active but non-public language can be useful for internal work or editorial preparation before publication.
Order
Language order can affect internal reading, listing logic and even how the team validates each language.
Consistency
If a language was disabled, confirm that menus or public access points are not still pointing to that version.
Explore also
Related pages